


Dutch Oven Temperature Guide: Campfire Cooking Made Easy


Few things are better than a warm pot of dinner cooked over a charcoal fire - even better being surrounded by trees and wildlife, listening to the sounds of undisturbed nature around you.
Dutch oven cooking on a campfire can be slightly intimidating if you've never tried it before. But after learning some of the basic Dutch oven cooking skills, you can take advantage of cooking over an open flame. The open flame infuses a delicious smoky depth into your food and can be mostly left to its own devices once you prepare the fire and tools correctly.
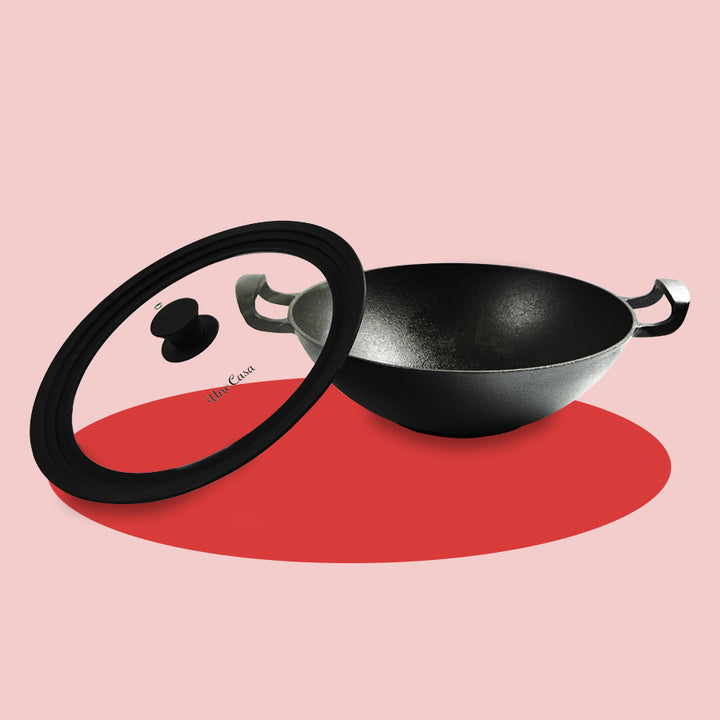
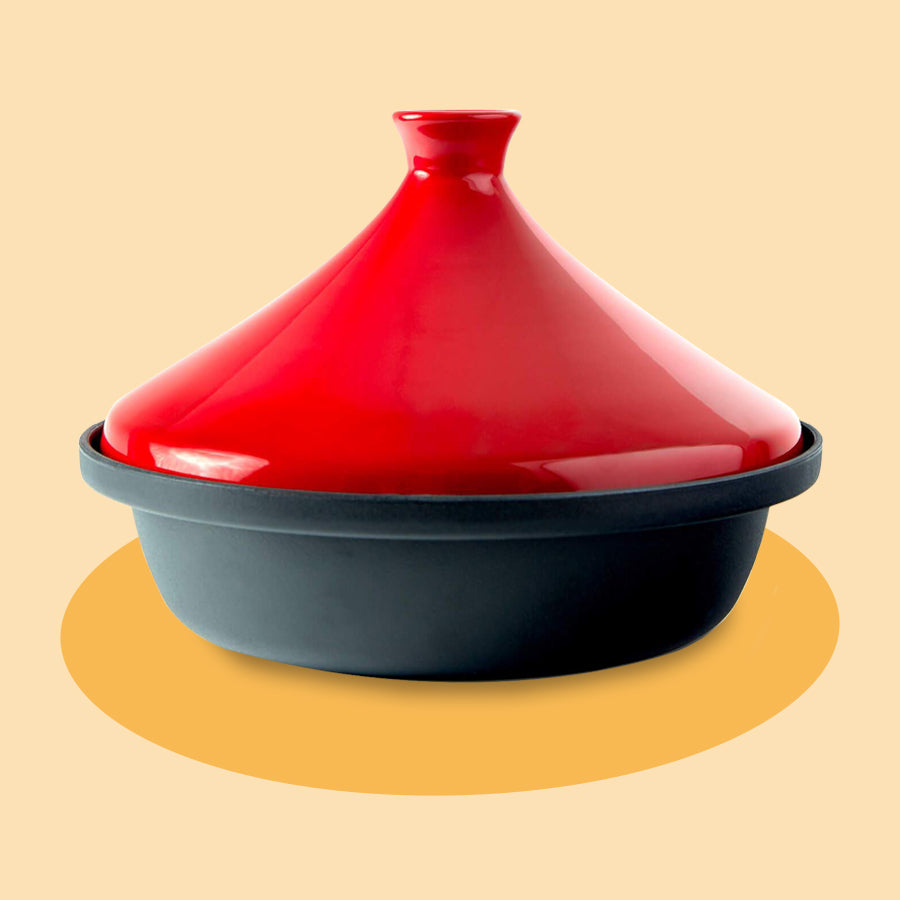
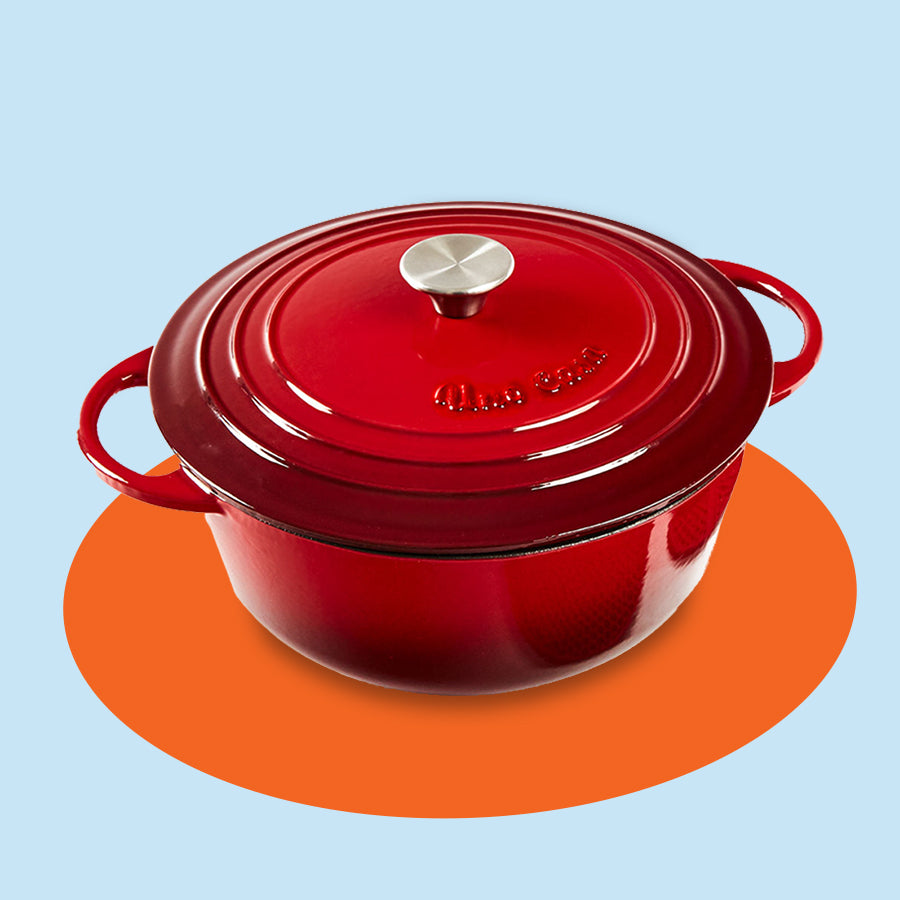
A cast-iron Dutch oven meant for cooking outside on the campfire is designed to sit directly in flames with a lid to place coals or charcoal briquettes directly on top of the oven.
Camping Dutch oven is incredibly versatile - from peach cobbler to bread, braised beef, and stews, cook almost anything you can dream up while you camp. Make dishes as simple or complex as you want! Experiment with new ideas and try a unique cooking style with a Dutch oven.
We've created this guide to lead you through Dutch oven campfire cooking with all of the tools you'll need, helpful recipes, and a handy Dutch oven charcoal temperature chart so you can accurately gauge your oven's heat on the open flame.
Tools for campfire cooking
Here's a list of the necessary tools you'll need to get started with Dutch oven cooking with charcoal:
- 10- or 12-inch cast-iron Dutch oven
- One large bag of charcoal briquettes
- A charcoal chimney starter
- Lighter fluid, or newspaper to light
- Matches/lighter
- Long-handled metal tongs, spatula, and spoon
- Heavy-duty barbecue gloves
- Heavy-duty foil
- Any food ingredients required
How to use a Dutch oven while camping
First, get your charcoals nice and hot.
Place your charcoal briquettes on the top of the starter. Place your newspaper in the lower portion and light it on fire. In approximately 15 minutes, your charcoal should be on fire and ready to go.
Set up your Dutch oven and place your hot coals underneath and on top of the lid. The amount of coals you need varies depending on the cooking method you are using. Generally, more coals are placed above the lid with fewer coals underneath the oven. Fewer briquettes are required on the bottom of the oven as heat tends to rise.
Here are a few of the fundamental ratios of how many charcoal briquettes to use for a Dutch oven:
- For baking - 3:1; 3 coals on top for every 1 coal underneath
- For roasting - 1:1; coals evenly distributed on top and bottom
- For stewing or simmering - 4:1; 4 coals on top for every 1 coal underneath
- For frying and boiling - 0:1; all coals underneath the oven
Charcoal briquettes vs. lump charcoal vs. wood embers
You can use three types of coals for Dutch oven charcoal - charcoal briquettes and pure charcoal. You can also use wood embers to heat your oven.
Charcoal briquettes are easy to find, relatively inexpensive, but they don't consist of pure charcoal. Instead, they are a manufactured wood by-product, compressed with additives. They're a little more difficult to light but a uniform shape that allows for burning consistency during cooking.
Lump charcoal is made of raw wood, burning without oxygen. They're purer than briquettes as they are a natural product. Lump charcoal is easier to light and burns hotter than briquettes, but is more expensive. They don't retain heat as long as briquettes and are better suited for foods with shorter cooking times. With a lengthy cooking time, you will be replacing the lump charcoal more often throughout the cooking process.
Wood embers are the product of a burning campfire with wood. These embers tend to be weak, and it's incredibly challenging to regulate their temperature. Softwoods like pine are typically sold for campfire wood and create very weak embers. Hardwood, like maple, almond, and oak will provide longer-lasting embers but are harder to find. Measuring the ember temperature is almost impossible.
When it comes to Dutch oven cooking, we recommend using briquettes for one key reason - consistency. To get your best results, you need to predict and change the Dutch oven temperature accurately. The uniform size of briquettes provides that consistency.
However, it is still okay to use wood embers if necessary! Let's face it, the briquettes and lump charcoal aren't exactly found on the ground like wood is!
How do you regulate the Dutch oven temperature?
Now, we'll show you why using those similarly-sized briquettes is so essential. You can count the briquettes and surround the oven to achieve your desired temperature for authentic Dutch oven cooking. Consider using briquettes to learn how to heat your Dutch oven adequately.
Once you get used to the basics and the entire process, it will be easier to use lump charcoal and even the somewhat inconsistent wood embers. For now, however, let's stick to the easiest route and get cooking with briquettes!
Charcoal briquette temperature guide
Use this Dutch oven temperature chart to take all of the guesswork out of charcoal cooking - we tell you how many bricks to use and proper placement for both a 10- and 12-inch Dutch oven, which is an ideal size for campfire cooking.
Dutch oven charcoal temperature chart
10-inch Dutch oven
325°F - 19 briquettes; 13 on lid and 6 underneath
350°F - 21 briquettes; 14 on lid and 7 underneath
375°F - 23 briquettes; 16 on lid and 7 underneath
400°F - 25 briquettes; 17 on lid and 8 underneath
425°F - 27 briquettes; 18 on lid and 9 underneath
450°F - 29 briquettes; 19 on lid and 10 underneath
12-inch Dutch oven
325°F - 23 briquettes; 16 on lid and 7 underneath
350°F - 25 briquettes; 17 on lid and 8 underneath
375°F - 27 briquettes; 18 on lid and 9 underneath
400°F - 29 briquettes; 19 on lid and 10 underneath
425°F - 31 briquettes; 21 on lid and 10 underneath
450°F - 33 briquettes; 22 on lid and 11 underneath
Achieve a cooking temperature of 350°F
Much like with a traditional oven, 350°F is the most common temperature you need to cook most foods over charcoal.
As you saw in the Dutch oven charcoal chart above, the amount of briquettes needed depends on the size of your Dutch oven. Here's how to get to 350°F for other Dutch oven sizes:
- For an 8-inch oven, place 11 briquettes on the lid and 5 underneath the oven.
- For a 14-inch oven, place 21 briquettes on the lid and 11 underneath the oven.
- For a 16-inch oven, place 26 briquettes on the lid and 13 underneath the oven.
Dutch oven cooking times
Once you've placed your briquettes, you will have an even temperature for approximately 30 minutes. If your dish requires longer than 30 minutes, you'll need to add fresh hot coals and replace the cooled down briquettes.
To guarantee consistency, have your briquettes lit and ready to go at that 30-minute mark so that you don't lose the heat you've worked so hard to build.
Other factors affecting heat
These charts utilize best-case scenario cooking conditions. When cooking outside, there are other important factors that we cannot control, but we need to take them into account.
Wind will lower the temperature of your oven significantly. You can shield your oven from the wind by building up a wall of rocks or wood around the pot.
Ground temperature and moisture can also significantly affect your oven's heat. A cold, wet ground is going to leach heat out of your briquettes rapidly. Place an aluminum pan, cookie sheet, or even rocks on the floor underneath the charcoals to act as a barrier and help retain the heat.
Cold air will likely mean you need to adjust and use more briquettes than usual. Hot temperatures and sunlight will help to heat the Dutch oven more quickly, and you may be able to use fewer briquettes than charted.
It could take a few tries to get the hang of cooking with a Dutch oven, but once you get it down, we promise you'll love it!
Cleaning up a cast-iron
Dutch oven cooking is simple, which is essential when you're without all of a home kitchen's luxuries.
The great news is clean up is also a breeze with your cast iron cookware.
Cast iron cookware is seasoned, meaning it has a coating of oil baked onto its surface. This coating makes the iron non-stick, provides an even heating surface, and protects the iron from rust and damage.
You don't need any special scrubbing tools, just a cloth and water to wipe out your Dutch oven. Avoid using metal scrubbers or harsh chemicals, which will disrupt and remove your hard-earned seasoning.
Most importantly, the cast iron needs to be completely dry before it gets put away. Dry well using a towel, or place over the heat after washing with oil to re-season the oven. Don't submerge or soak your oven in water as it will ruin the seasoning and cause rusting. See our comprehensive guide on how to season a dutch oven properly.
To make things even easier, you can line your Dutch oven with heavy-duty foil and remove it after cooking - voila, it's thoroughly clean without requiring a wash!
Check our detailed guide on how to clean dutch oven to learn more!
The final word on our Dutch oven temperature guide
We hope you've learned enough to feel comfortable and confident to cook over hot coals with your Dutch oven. Bring the list of tools with you to the store to avoid trekking out unprepared. Save the charcoal temperature chart on your phone or print it off so you can use it even in the most remote locations.
Dutch oven cooking can be just as straightforward or as complex as you choose to make it. Enjoy the experience of learning a new skill with our Dutch oven temperature guide.
Bookmark this page to use on your future camping trips or if you decide to build a campfire in your backyard.
Leave a comment
Comments will be approved before showing up.
Also in Tips