


How to Season a Dutch Oven Simply and Quickly


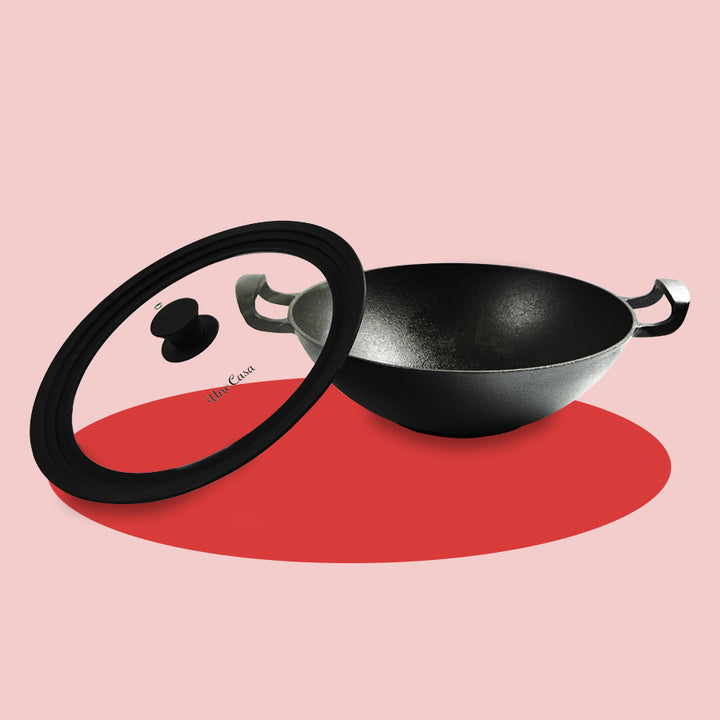
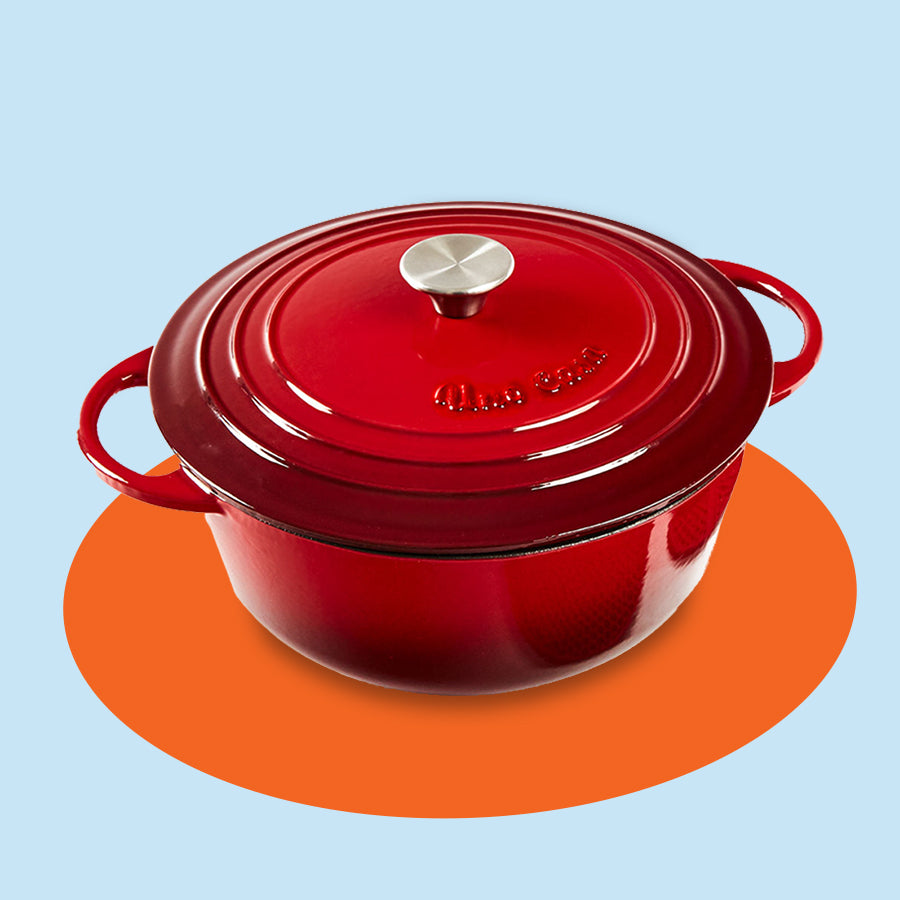
If you've ever experienced cast-iron cooking, you know why it's some of the most popular kitchenware out there. It is naturally non-stick, retains heat beautifully, and looks excellent on dinner tables. It can also last for years if it is seasoned properly and regularly.
As long as a camping Dutch oven is well cared for, your family can easily pass it down from one generation to the next. We still have the good old Dutch oven my grandmother used on the campfire on weekend trips. We make sure to season it regularly to keep the memories (and the great meals!) alive.
Why Cast-Iron Cookware Has to be Seasoned
Seasoning cast-iron Dutch ovens involves treating them with a source of oil for two reasons:
- To deelop a non-stick surface.
- To prevent from developing rust.
Cast-iron itself is not non-stick. If you use your Dutch oven as is without seasoning it first, your cooking experience may not go as smoothly as you'd like it to, and you could run into some issues. However, if you season it regularly, the oil layer that remains on the pan makes it wonderfully non-stick. Learning how to season cast iron properly is essential to every first-time user.
Without this layer, the cast-iron of your Dutch oven will be exposed to oxygen and water or vapor, which is the perfect recipe for rust spots! The oily layer will keep the iron rust-free, looking good, and cooking great.
When to Season a Dutch Oven
Before you cook your first meal in a brand new Dutch oven, it's important to season it well. If not, your food could stick to the surface. If you're not sure whether it's seasoned or not, do a simple seasoning test with a single piece of food before putting everything in and risk ruining your meal.
But, this is not where it ends; Dutch oven seasoning is an ongoing process. We recommend that you cook in your oven with oil or lard to keep the seasoning process going and re-season your Dutch oven after every meal you cook in it, every time you clean it.
What You Need for Seasoning
Cast-iron Dutch oven care is simpler than you think, and you don't need any fancy equipment or specialized products or materials to take care of things. You probably have everything you need right at home, like:
- Vegetable oil or lard. Vegetable oil and lard have high smoke points, so you can get your Dutch oven smoking hot without burning the coating off, which will affect your food's flavor. Olive oil or butter is not suitable, but peanut, canola, sunflower, or soybean oil can withstand high heat.
- Paper towels or a soft rag. Anything nonabrasive you can use to apply the oil to the pot and to wipe any excess away. There is nothing worse than leftover lard or oil going rancid in your pot. It smells horrible! You would have to clean it and season it all over before using it for cooking. Your best bet is to use quality paper towels, a soft rag, or cheesecloth. Just make sure the oil is warm and not hot or sticky. This guide on how to clean a dutch oven might help you.
Once your Dutch oven is thoroughly cleaned, and you have everything you need ready, it's time to begin the seasoning process.
6 Simple Steps to Season Your Dutch Oven
After you clean your Dutch oven, put it on the stovetop on low heat to steam off any leftover water. You want your Dutch oven to be super dry before you reseason it! Once it's cooled down and dry, you can season it. The steps below explain how to reseason a dutch oven.
Step 1 - Prepare your oven
Preheat your oven to 225°F and 500°F, depending on the type of oil you plan to use. Here’s a basic guide to setting your oven temperature:
- Flaxseed oil - 225°F
- Shortening - 360°F
- Canola oil - 400°F
- Sunflower oil - 440°F
- Peanut oil - 450°F
- Vegetable oil - 400°F to 450°F
- Lard or tallow - 370°F to 450°F
Step 2 - Begin to apply the oil
First of all, make sure you pick the right oil for your dutch oven seasoning. Apply a small amount of lard or mild vegetable oil with your paper towel, rag, or cloth, and rub it in. As you rub it across the entire cooking surface, your cloth may change color. Don't be alarmed; this is normal.
Step 3 - Make sure it's rubbed in
If the surface absorbs the oil quickly, add more, but be aware that you should not have too much lard or oil left over at the end of the process. Keep rubbing it in and adding more until the surface has changed color and no longer has any areas that look dry. The Dutch oven should have a rich shine to it.
Step 4 - Remove excess oil
Use a new paper towel, rag, or cloth to give it a final wipe-down, making sure there's no excess lard or oil that could go rancid.
Step 5 - Bake it in
Taking care to set your oven temperature based on the guide above, place your Dutch oven in the preheated oven. Let it bake the oil into the cast-iron for around an hour. Baking seals in the goodness of the lard or oil and give your pot that gorgeous, non-stick patina.
Step 6 - Cool it down
The final step in seasoning your Dutch oven is to let it cool down before putting it away. The simplest way to do this is probably to turn the oven off and leave the pot inside to allow it to cool down naturally until it is cool enough for you to take it out and store it away.
That's it! Now you're ready to pack your Dutch oven away until you need to use it again. When you regularly season cast-iron, you will keep it in good condition and free from rust.
TIP: Avoid storing cookware made of this type of material in cabinets with high levels of moisture. For example, a cabinet located above the stovetop would be exposed to steam from cooking and not a good idea for using as a storage area for your Dutch oven.
Loving your Oven
Cooking with cast-iron is a culinary art form that's more than 300 years old. Cooking with and caring for this cookware takes time and patience. Seasoning your cast-iron Dutch oven is the perfect opportunity to slow down and enjoy the experience.
Over time, everyone who owns a cast-iron Dutch oven grows to love and cherish it. Seasoning it is just part of the process and could even become a fun activity. As you become more familiar with your Dutch oven and its unique charm, you may find yourself becoming more and more committed to caring for it.
Leave a comment
Comments will be approved before showing up.
Also in Tips